I still remember the very first time I baked this Juicy Pineapple Heaven Cake. It was a gloomy Sunday afternoon, and my little ones were restless, chasing each other around the kitchen while I tried to whip up something sweet to lift our spirits. The moment that buttery, pineapple-sweet scent started drifting from the oven, the whole mood changed. By the time it cooled enough to glaze, the kids were lined up with forks in hand! Now, it’s our go-to treat whenever we need a little extra sunshine—rainy days or not.
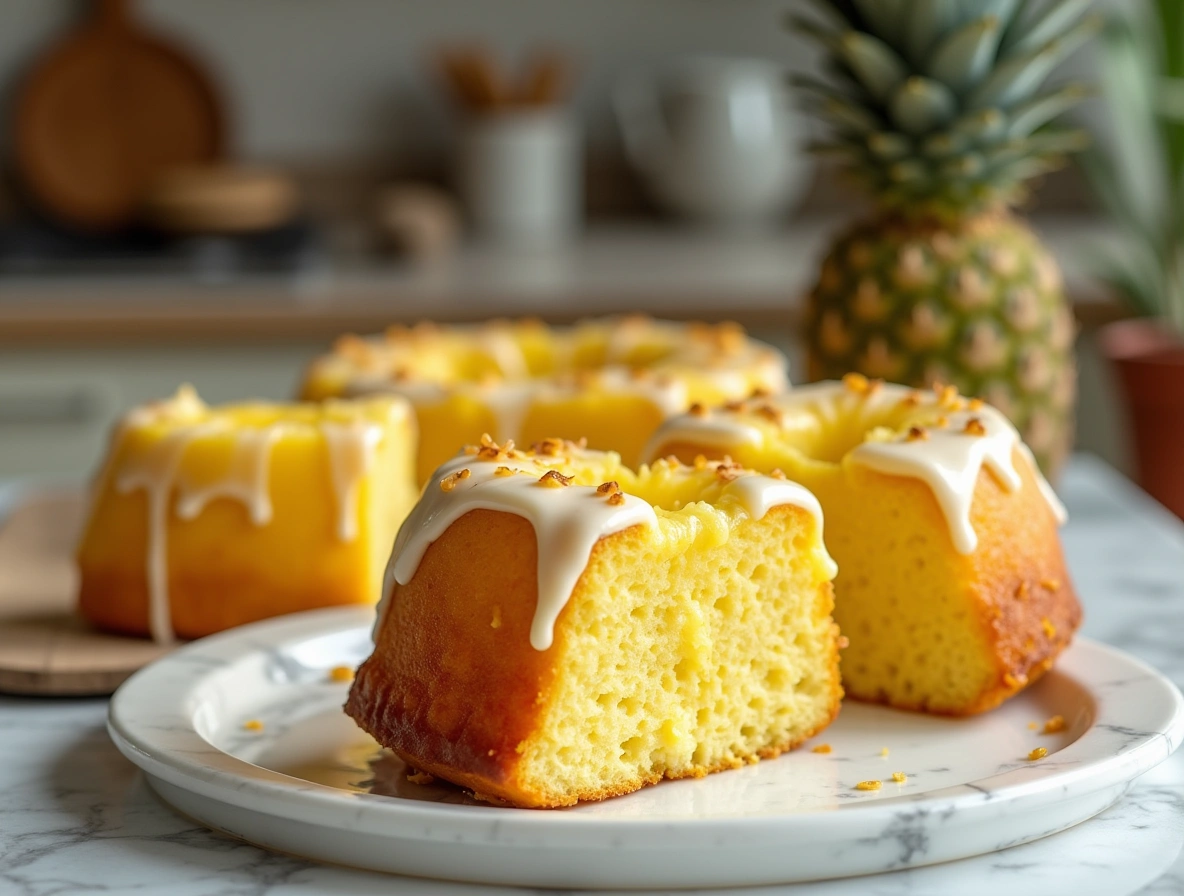
This recipe is one of those simple joys that makes baking feel magical. Soft, tender crumb, a sweet-tangy glaze that glistens like morning dew, and that rich, tropical flavor that instantly transports you somewhere warm and happy. It’s love baked into a loaf, plain and simple.
If you’re craving something sweet but not heavy, fruity but still indulgent, you’re in for a real treat with this Juicy Pineapple Heaven Cake. Let’s get baking!
Why This Juicy Pineapple Heaven Cake Will Become Your Family’s Favorite
When I say this cake is irresistible, I mean it. Picture this: every bite is packed with juicy pineapple bits, and the cake itself is unbelievably moist thanks to a little secret weapon sour cream. And the glaze? Just two simple ingredients, but it takes the whole thing over the top.
This cake is everything I love about baking: it’s easy, foolproof, and delivers big flavor without a fuss. Plus, it brings people together. There’s something about that tropical aroma floating through the house that calls everyone to the kitchen.

Note: The full list with exact measurements will be found in the recipe card at the end of the article.
Whether you’re hosting a summer barbecue, celebrating a birthday, or just need a pick-me-up, this cake always hits the right note. It’s also one of those recipes that tastes even better the next day if it lasts that long!
The 5 Ingredients You Can’t Skip
You don’t need a pantry full of fancy ingredients to make this cake. Just a few humble basics and a little love!
- All-purpose flour: Good ol’ reliable flour gives the cake its sturdy, tender crumb.
- Unsalted butter: Use real butter, not margarine. It’s what gives the cake its rich, homemade flavor. (Grandma’s tip: soften it, don’t melt it!)
- Sour cream: My not-so-secret trick for keeping cakes moist without making them heavy.
- Crushed pineapple: I always keep a can or two in the pantry. Drain it well you want juicy, not soggy!
- Vanilla extract: A splash of vanilla brings everything together with that sweet, cozy aroma.
And don’t forget the little things that make a big difference: a touch of baking powder for lift, a pinch of salt to balance the sweetness, and of course, the simple glaze to finish it all off.
Step-by-Step: How to Make Juicy Pineapple Heaven Cake
Baking this beauty is easier than you might think. No fancy mixers or techniques required just a big bowl, a sturdy spoon, and a little patience!
1. Get your oven and pan ready
First things first: preheat your oven to 350°F (175°C). Grease and flour a loaf pan. I like to butter mine generously, then dust with a little flour this way the cake pops right out with a gorgeous crust.
2. Mix the dry ingredients
In a medium bowl, whisk together:
- 1 ½ cups all-purpose flour
- 1 teaspoon baking powder
- 1 teaspoon salt
This simple step ensures the baking powder and salt are evenly distributed, so you get a nice even rise.
3. Cream the butter and sugar
In a large bowl, cream ½ cup unsalted butter (softened) with 1 cup granulated sugar until it’s light and fluffy. I do this by hand with a sturdy wooden spoon (and some elbow grease!) but you can use a hand mixer if you’re feeling fancy.
Don’t forget this delicious cake: The Golden Delight That Feels Like a Hug from Grandma

Creaming the butter and sugar traps air in the batter, making the cake tender and airy.
4. Add eggs and vanilla
Beat in 2 large eggs, one at a time. Make sure each egg is fully incorporated before adding the next.
Then, stir in 1 teaspoon vanilla extract. It’s amazing how a little splash of vanilla can make everything smell like home.
5. Alternate dry ingredients and sour cream
Now comes the important part: add the dry ingredients in three parts, alternating with ½ cup sour cream. Start and end with the flour mixture.
This technique keeps the batter from getting overmixed (nobody wants tough cake!). Stir gently just until everything is combined.
6. Fold in the pineapple
Fold in 1 cup drained crushed pineapple. Use a spatula and a gentle hand you want those sweet pineapple bits to stay nice and juicy throughout the batter.
7. Bake until golden and dreamy
Pour the batter into your prepared loaf pan and smooth the top.
Bake for 50-60 minutes. Check it around the 50-minute mark by inserting a toothpick into the center. If it comes out clean (maybe with a few moist crumbs), it’s ready.
If your cake is browning too quickly on top, tent it loosely with foil for the last 10 minutes of baking.
8. Cool and glaze
Let the cake cool in the pan for 10 minutes, then turn it out onto a wire rack to cool completely.
While the cake is cooling, whip up a quick glaze: stir together:

- ½ cup powdered sugar
- 2 tablespoons pineapple juice (fresh or reserved from your can)
Drizzle the glaze over the cooled cake, letting it drip down the sides like a tropical waterfall. Pure magic.
Anna’s Little Tips for Baking Success
- Don’t skip greasing and flouring the pan: It might seem old-school, but it makes all the difference.
- Room-temperature ingredients are key: Cold butter or eggs can mess with the texture. I usually set everything out about an hour before baking.
- Drain your pineapple well: Too much juice will weigh down the batter. I press mine lightly with a paper towel after draining.
- Patience, my friend: Let the cake cool fully before glazing. Otherwise, the glaze will melt right off!
Serving Ideas: Make It Even More Heavenly
- With whipped cream: A dollop of lightly sweetened whipped cream makes it extra indulgent.
- Tropical twist: Sprinkle a little toasted coconut over the glaze for extra island vibes.
- Breakfast treat: Yes, I fully support cake for breakfast. Especially with a hot cup of coffee.
How to Store Your Juicy Pineapple Heaven Cake
This cake stays moist for days if you can resist it that long!
- Room temperature: Store in an airtight container for up to 3 days.
- Fridge: If your kitchen’s warm, pop it in the fridge for up to a week.
- Freezer: Slice and freeze individual pieces wrapped tightly in plastic wrap and a zip-top bag. Thaw overnight on the counter when you need a quick treat!
FAQ Section
Can I use fresh pineapple instead of canned?
Yes, fresh pineapple will work just as well. Just be sure to drain any excess juice to avoid making the batter too watery.
How should I store this cake?
Store the cake in an airtight container at room temperature for up to three days. For longer storage, refrigerate it, or freeze individual slices for up to a month.
Before You Go, Let’s Soak Up This Sweet Moment Together
If there’s one thing I’ve learned over all these years in the kitchen, it’s that the best recipes aren’t just about taste they’re about heart. And this Juicy Pineapple Heaven Cake? It’s pure sunshine wrapped up in a slice, made to brighten even the cloudiest day.
Whenever I pull this cake out of the oven, I can’t help but feel a little burst of happiness. It’s that buttery, golden top, the smell of pineapple sweetening the whole house, and the way the glaze catches the light just right. It’s more than a dessert it’s a little moment of celebration. A reason to gather around the table, to pour another cup of coffee, to laugh a little longer.
That’s what I love most about baking: it turns an ordinary afternoon into something special. It’s not about perfection. It’s about showing up with a wooden spoon, a mixing bowl, and a heart full of love.

If you try this Juicy Pineapple Heaven Cake, I hope it brings you the same kind of joy it brings my family. Maybe it’ll become your new Sunday afternoon tradition, or the treat you bake when a friend needs cheering up, or the recipe your kids request for their birthdays (mine sure do!).
And don’t be afraid to make it your own. Add a handful of toasted coconut, a dash of cinnamon, or even a squeeze of lime into the glaze if you’re feeling adventurous. That’s the beauty of home baking it’s not about following every rule perfectly, it’s about creating little bits of magic that feel just right for you and your loved ones.
One last little tip from my kitchen to yours: always cut yourself the first slice. Not out of greed (well, maybe just a tiny bit!), but because you deserve to enjoy the sweet rewards of your own two hands. I promise, it tastes even better when you savor it slowly, standing barefoot in your kitchen, smiling at the sweet, simple beauty of it all.
If you do bake this, please, tag me or drop a comment below! I truly love seeing your creations and hearing the stories behind them. Food has a funny way of connecting us, even from far away. It’s why I started this little blog in the first place to share the recipes that mean something to me and, hopefully, to sprinkle a little more love into your life too.
Until next time, keep baking, keep sharing, and never underestimate the joy a homemade cake can bring. Thanks for spending a little time in my kitchen today. It truly means the world to me.
Happy baking, sweet friends! 🍍💛

Juicy Pineapple Heaven Cake
Equipment
- Loaf Pan
- Medium Mixing Bowl
- Large Mixing Bowl
- Spatula
- Whisk
Ingredients
Cake Batter
- 1 ½ cups All-Purpose Flour
- 1 teaspoon Baking Powder
- 1 teaspoon Salt
- ½ cup Unsalted Butter softened
- 1 cup Granulated Sugar
- 2 large Eggs
- 1 teaspoon Vanilla Extract
- ½ cup Sour Cream
- 1 cup Crushed Pineapple drained
Glaze
- ½ cup Powdered Sugar
- 2 tablespoons Pineapple Juice